Testing your carbon monoxide (CO) detector regularly is one of the simplest yet most important steps you can take to protect your family from this invisible threat. While most detectors are designed to last 7-10 years, sensors can degrade silently, and batteries can fail without warning.
Knowing how to properly test, check functionality, and reset your CO detector ensures it will work when you need it most. In this 2025 guide, we’ll walk you through step-by-step methods to test your detector, interpret warning signs and chirps, safely reset after an alarm, and avoid common mistakes. Whether you have a basic battery model, plug-in, or smart detector, these instructions apply universally. Follow along to gain peace of mind that your home is truly protected.
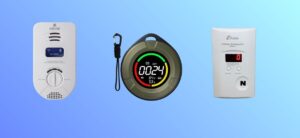
If your tests reveal any issues or your detector is nearing the end of its lifespan, consider upgrading to a newer model. We’ve tested and reviewed the top options available this year—check out our guide to the Best Carbon Monoxide Detectors for our top 7 recommendations.
Table of Contents
Why Regular Testing of Your CO Detector Is Critical
Carbon monoxide (CO) is a colorless, odorless gas that can be deadly, often called the “silent killer.” Regular testing ensures your detector can alert you in time during a leak.
CO Poisoning Stats Recap
In the United States, unintentional non-fire-related carbon monoxide poisoning causes over 100,000 emergency department visits and around 430 deaths annually, according to recent CDC and public health data. Many cases are preventable with functional detectors.
Consequences of a Faulty Detector
A silent failure during a CO leak can lead to poisoning symptoms like headaches, dizziness, and nausea, escalating to loss of consciousness or death within hours. Regular monthly testing and maintenance can significantly reduce risks by ensuring early detection.
How to Test a Carbon Monoxide Detector Step-by-Step
Testing your CO detector monthly is recommended by manufacturers like First Alert and Kidde, as well as safety organizations.
Method 1: Using the Built-In Test Button (Most Common)
- This tests the alarm’s circuitry, battery, and sound—not the actual CO sensor.
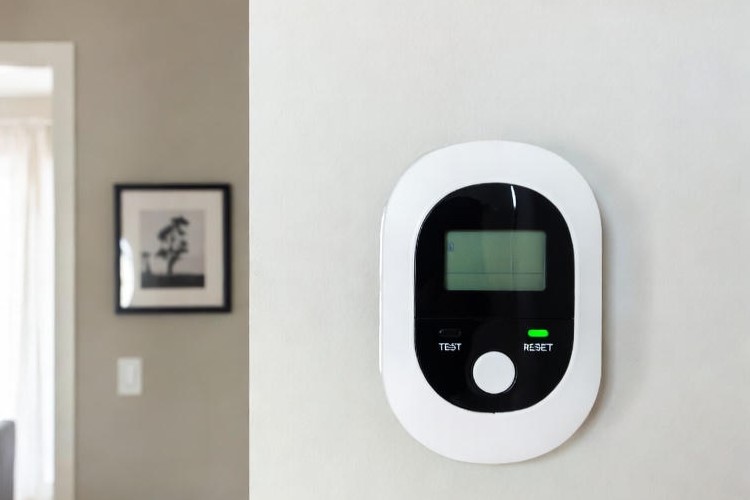
- Locate the test button on the detector.
- Firmly press the test button and continue holding it down until the alarm begins to sound (this may take a few seconds on most models).
- Listen for 4 rapid beeps (often repeating with a pause), possibly with a voice alert if equipped.
- Release the button; the green power light (if present) should return to steady.
Pass: The full alarm sequence sounds loudly (at least 85 dB).
Method 2: Using Canned CO Test Spray (Professional Test)
- This verifies the sensor’s ability to detect CO—recommended annually for thorough checking.
- Purchase manufacturer-approved canned CO test gas (available on Amazon or at hardware stores).
- Hold the can about 12 inches from the sensor and spray briefly for 1–2 seconds (follow the exact instructions on the can).
- The alarm should trigger within 15–30 seconds.
Pass: The detector alarms at simulated low levels (typically 50–100 PPM CO).
Method 3: Real-World Exposure Test (Not Recommended for Home)
Dangerous: This involves creating actual CO and risks poisoning. Reserved for professionals only.
- Use controlled lab-grade CO calibration gas in a safe environment.
- Never use home methods like car exhaust, burning items, or matches—extremely hazardous and unreliable.
How to Know If Your Carbon Monoxide Detector Is Working Properly
Visual and Audible Indicators of a Healthy Detector
| Status | Green Light | Sound | Display (if equipped) | Notes |
| Normal | Steady ON | None | 0 PPM | Power is good |
| Testing | Flashing | 4 beeps (repeat) | “Testing” or rising PPM | During test button press |
| Low Battery | OFF or flashing | 1 chirp every 60 sec | “BAT” or low icon | Replace batteries soon |
Common Warning Signs It’s Not Working
A carbon monoxide detector that is failing may show several clear indicators. If there is no sound or only a weak sound when you press the test button, the alarm circuitry or power source is likely compromised. Continuous or irregular chirping without any obvious cause, such as a low battery, often points to an internal fault.
Physical signs include a faded or yellowed casing, heavy dust buildup inside the vents, or visible damage to the unit. On models with digital displays, error codes such as “Err” or flashing symbols typically mean the sensor or electronics are no longer reliable.
Understanding Different Chirp Patterns and Error Codes
Chirp patterns and error codes vary slightly by manufacturer, such as Kidde or First Alert, but most follow similar conventions. A single chirp every 30-60 seconds almost always indicates a low battery and requires immediate battery replacement.
Three or four chirps in a repeating pattern generally signal a sensor fault or malfunction, meaning the entire unit should be replaced. Five rapid chirps every minute is the standard end-of-life warning, which occurs after 7-10 years of use when the sensor has degraded beyond safe limits.
A continuous loud alarm consisting of four beeps followed by a pause and repeating indicates actual carbon monoxide detection, requiring immediate evacuation and emergency response. Always consult the specific user manual for your model to confirm the exact meanings.
How to Reset a Carbon Monoxide Detector After It Goes Off
When and Why You Should Reset
Reset only after the area has been cleared of CO by professionals (e.g., fire department). Resetting clears the alarm memory but does not repair sensor damage.
Step-by-Step Reset Instructions
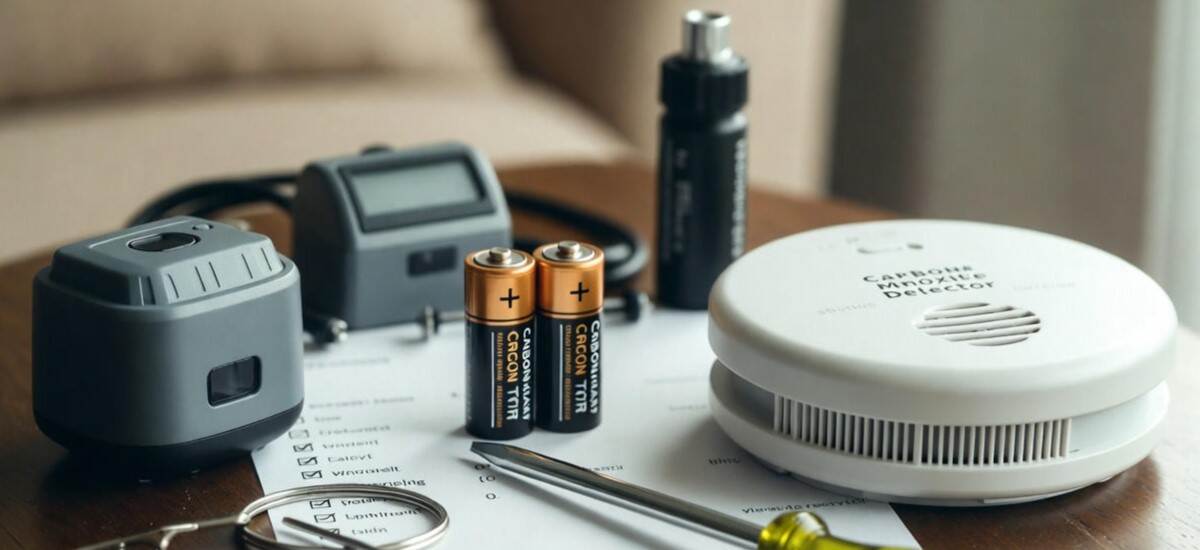
Battery-Operated Models: Remove the batteries from the detector and wait at least 30 seconds to fully discharge any residual power. Then reinstall fresh alkaline batteries, avoiding rechargeable NiMH types due to their lower voltage. Finally, press the test button to confirm the unit powers up and functions normally.
Plug-In Models: Unplug the detector from the wall outlet and leave it disconnected for at least 30 seconds. Plug it back into the outlet and allow 2-3 minutes for the internal self-test cycle to complete and stabilize.
Digital/Smart Models: Perform a full power cycle by removing backup batteries or unplugging the unit as appropriate. If the model has a dedicated reset button, press and hold it, or follow the reset procedure outlined in the companion app. After powering back on, check the display or app for any remaining error codes or alerts.
What to Do If the Alarm Keeps Going Off After Reset
If the alarm continues sounding after a proper reset, evacuate the home immediately and move everyone to fresh air. From outside, call the fire department or your local gas utility for professional assistance.
Open windows and doors to ventilate the premises for at least 15 minutes once it is safe to do so. Do not re-enter until emergency responders have inspected the property, identified and resolved any CO source, and officially declared the area safe.
Afterward, test the detector in a different location or replace it if the issue persists.
Common Testing Mistakes to Avoid
Many people unintentionally compromise their detector’s reliability during testing. Using cigarette smoke, matches, or incense to “test” the sensor can permanently damage the electrochemical cell or produce unreliable results.
Ignoring chirp patterns and assuming they are harmless often leads to overlooking low battery or end-of-life warnings. Performing tests in dusty, humid, or high-traffic areas increases the chance of false alarms or inaccurate readings.
Using rechargeable NiMH batteries instead of standard alkaline ones can cause insufficient voltage and frequent failures. Finally, skipping monthly tests altogether under the assumption that the detector will continue working indefinitely leaves households vulnerable to silent sensor degradation.
Conclusion
Regular testing and proper care of your carbon monoxide detector can literally save lives. By performing monthly test button checks, watching for warning signs, and replacing units at the end of their lifespan, you eliminate the risk of silent failure.
Remember: a working CO detector is your first and best defense against carbon monoxide poisoning. If your current detector is over 7 years old, shows any error signs, or fails a test, don’t hesitate—replace it immediately. Modern 10-year sealed-battery models require almost no maintenance and provide reliable protection.
FAQs
How often should I test my CO detector?
Test it monthly by pressing the test button. This is the strong recommendation from manufacturers like Kidde and First Alert, as well as the NFPA and safety experts. It only takes a few seconds and confirms the alarm, battery, and circuitry are ready to protect you. Make it a habit—many people tie it to changing clocks for daylight saving time. Regular testing prevents silent failure and gives you real peace of mind.
Does the test button actually check the CO sensor?
No. The test button only checks the alarm sound, circuitry, and battery power—it simulates the alarm but does not test the sensor’s ability to detect real carbon monoxide. For a proper sensor check (recommended once a year), use manufacturer-approved canned CO test spray. This ensures your detector will actually sense invisible, deadly CO when it matters most.
Why is my CO detector chirping or beeping?
Your detector is warning you—don’t ignore it. The most common cause is a low battery (usually one chirp every 30–60 seconds). Other reasons include reaching end-of-life (after 7–10 years) or an internal malfunction. Act fast: replace the batteries first. If chirping continues, replace the entire unit immediately—your protection depends on it.
What do different chirp patterns mean?
Patterns vary slightly by brand, but here’s what they usually signal: one chirp every 30–60 seconds means low battery—replace batteries right away with fresh alkaline ones; multiple rapid chirps (often 4–5 every 30–60 seconds) means end-of-life warning—the sensor has degraded and can no longer reliably detect CO, so replace the whole unit now; continuous loud 4 beeps plus pause (repeating) means actual CO detected—evacuate everyone immediately and call 911 from outside. Always check your model’s manual for exact meanings, but never ignore these warnings.
How do I reset my CO detector after it alarms?
Only reset after professionals (fire department or gas company) confirm the area is completely safe and free of CO. Resetting too early puts lives at risk. Once cleared, remove batteries or unplug the unit for 30–60 seconds (full power cycle), reinstall fresh batteries or plug it back in, and press and hold the test/reset button until it beeps and returns to normal (green light steady). If it alarms again, evacuate immediately and call experts—there may still be danger or the unit needs replacement.

Welcome to Homenias, I’m Jaman M, and I’m here to help you discover the best home products. With years of experience, they offer genuine reviews and helpful guides. Their mission is to make your choices easier. It’s organizing your space or finding creative solutions. Explore how the right products can enhance your everyday life. Don’t miss out on finding the best home products to raise your living experience.