Vacuum cleaners are essential household appliances that help keep our homes clean and dust-free. However, like any electronic device, they can break down over time, and one of the most common issues is a damaged or frayed power cord. A damaged vacuum cleaner cord can render your appliance useless and pose a safety risk if left unchecked. Replacing the vacuum cleaner cord is not as daunting as it may sound. With a little time, patience, and the right tools, you can have your vacuum cleaner working like new.
In this comprehensive guide, we’ll walk you through everything you need to know about how to replace a vacuum cleaner cord, from identifying a faulty cord to finding the right replacement and carrying out the repair. Whether you’re a DIY enthusiast or someone looking to save on repair costs, this article is for you.
Table of Contents
- Introduction
- Why Do Vacuum Cleaner Cords Break?
- Signs That Your Vacuum Cleaner Cord Needs Replacing
- Tools and Materials Needed
- How to Replace a Vacuum Cleaner Cord
- Step 1: Unplug the Vacuum Cleaner
- Step 2: Remove the Old Cord
- Step 3: Prepare the New Cord
- Step 4: Attach the New Cord to the Vacuum Cleaner
- Step 5: Test the Vacuum Cleaner
- Common Mistakes to Avoid
- How to Maintain Your Vacuum Cleaner Cord
- FAQs
- Final Thoughts
Introduction
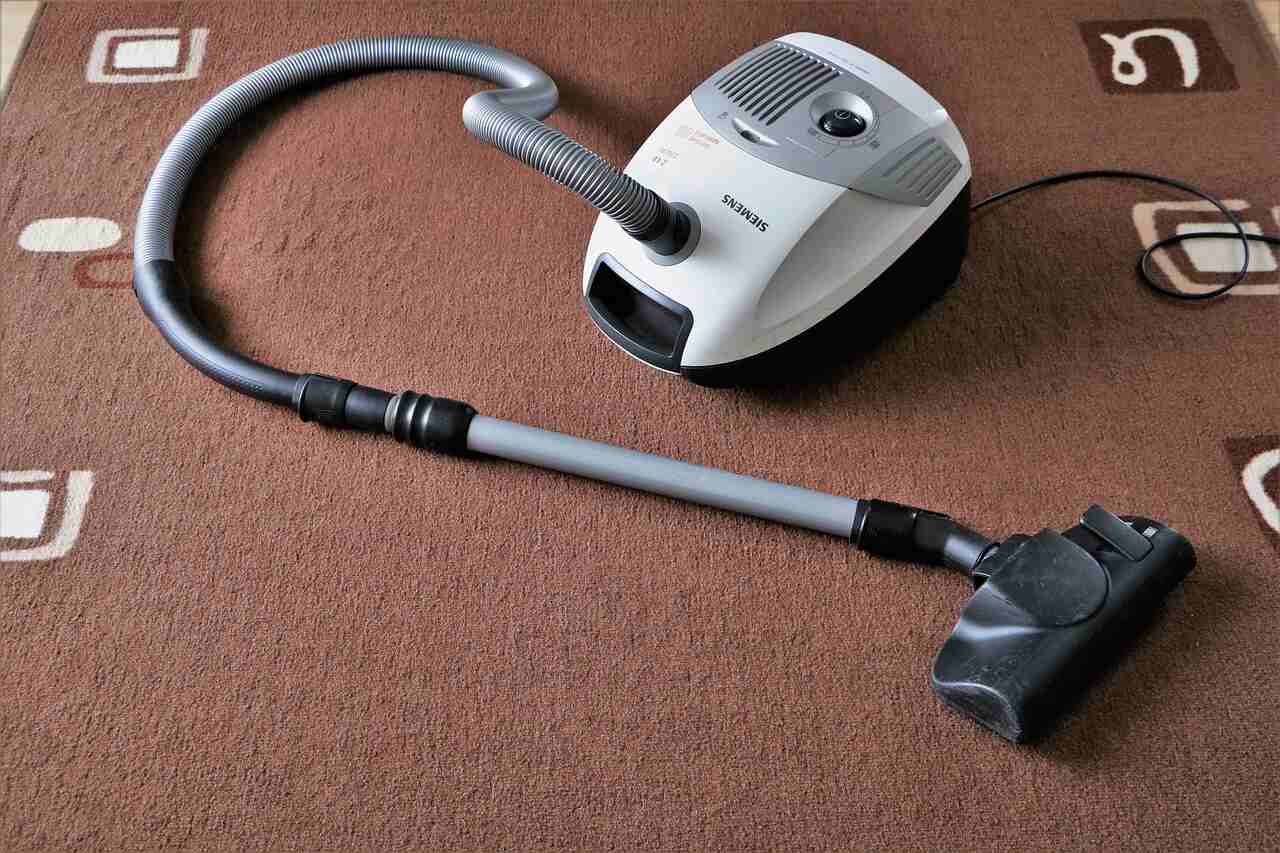
A vacuum cleaner cord plays an essential role in keeping your device powered, but like any other part of the vacuum cleaner, it can become damaged over time. Most vacuum cleaners rely on a power cord to operate, and when this cord breaks, you’ll be unable to use the machine. The good news is that replacing the vacuum cleaner cord is a manageable task that you can do at home. It not only helps you save money on professional repairs but also gives you the satisfaction of fixing something yourself.
The process of replacing the vacuum cleaner cord involves a few simple steps: you need to unplug the appliance, remove the old cord, and then replace it with a new one. While this task may sound technical, it’s relatively simple when you have the right knowledge and tools. In this article, we’ll cover everything you need to know, including why vacuum cleaner cords break, signs to look for when it’s time to replace the cord, and a step-by-step guide to help you with the replacement process.
Additionally, we will provide tips for maintaining your vacuum cleaner cord to avoid frequent replacements, and answer some common questions that many homeowners have about this repair task.
Replacing the power cord on a vacuum cleaner is often cheaper than buying a brand-new vacuum, and it extends the life of your appliance. With that said, it’s important to understand that not all vacuums have cords that are easily replaceable. Some models may require a technician, especially if they have specialized wiring or unique designs. However, most common vacuum models allow for an easy DIY replacement.
In the following sections, we will delve deeper into the specifics of replacing your vacuum cleaner cord and provide you with detailed instructions to make the process as smooth as possible.
Why Do Vacuum Cleaner Cords Break?
Before we dive into the specifics of how to replace a vacuum cleaner cord, it’s important to understand why these cords break in the first place. Understanding the root causes will help you avoid similar issues in the future and maintain your appliance effectively.
There are several reasons why vacuum cleaner cords can become damaged. One of the most common reasons is wear and tear. With frequent use, the cord is often bent, twisted, and pulled in various directions, causing the outer insulation to weaken or fray. This is especially true if the vacuum is frequently wound around a cord reel or dragged across rough surfaces.
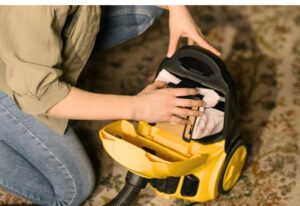
Another reason for a broken vacuum cleaner cord is poor storage. If the cord is not properly stored or is tangled up in knots, it can become stressed and ultimately break. Over time, the internal wires can start to fray, leading to power interruptions.
Additionally, accidents can also cause the cord to break. For example, if the cord gets caught in a door or under furniture, it can be yanked or stretched beyond its limit, damaging the wire inside.
Lastly, exposure to heat, moisture, or chemicals can degrade the cord’s insulation and lead to breaks or short circuits. If you use your vacuum cleaner in a damp or hot environment, the longevity of the cord could be affected.
Signs That Your Vacuum Cleaner Cord Needs Replacing
Knowing when it’s time to replace your vacuum cleaner cord is crucial for maintaining the appliance’s efficiency and ensuring safety. Below are some signs that indicate your cord may need replacing:
1. Visible Fraying or Damage
The most obvious sign that your vacuum cleaner cord is damaged is visible fraying or exposed wires. If the cord’s outer insulation is worn or cut, the internal wires are exposed to the elements, which can cause sparks or electrical shorts. If you notice fraying in multiple places, it’s definitely time to replace the cord.
2. Power Loss or Interruption
If the vacuum turns on and off intermittently, it may be due to a fault in the cord. A broken wire inside the cord could cause the connection to be lost. If jiggling or adjusting the cord temporarily restores power, this is a strong indicator that the cord needs replacing.
3. Electrical Shocks
If you receive mild electrical shocks when touching the vacuum, this could mean that the cord’s insulation is compromised. This can be very dangerous and should be addressed immediately to avoid any risk of electrocution.
4. Burnt Smell or Smoke
If your vacuum emits a burnt smell or smoke, turn it off immediately and inspect the cord. This could be a sign of overheating, a short circuit, or damaged wiring inside the cord.
5. Tangled or Stretched Cord
If the cord is consistently tangled or stretched out of shape, it could eventually cause internal damage to the wires. In such cases, it’s best to replace the cord before further issues arise.
Tools and Materials Needed
To replace a vacuum cleaner cord, you’ll need to gather a few essential tools and materials. Here’s what you’ll need:
- Replacement Cord: Make sure to buy the correct cord length and type for your vacuum model. Check the voltage and amp rating to ensure compatibility.
- Screwdriver: You’ll need a screwdriver to open the vacuum cleaner and remove any screws holding the cord in place.
- Wire Strippers: These are essential for stripping the insulation from the wire so you can attach it properly to the vacuum’s terminals.
- Electrical Tape: This is used to secure any loose connections and ensure a safe fit.
- Utility Knife or Scissors: These are useful for cutting and trimming the old or new cord.
- Cord Clamp (Optional): Some vacuums may require a cord clamp to secure the cord in place.
How to Replace a Vacuum Cleaner Cord
Step 1: Unplug the Vacuum Cleaner
Before starting any repair work, always ensure the vacuum cleaner is unplugged from the power source. This is a critical safety step to avoid electrical shock or injury while working on the appliance.
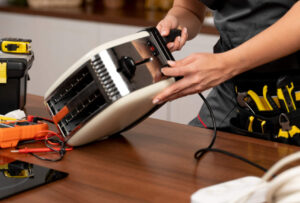
Step 2: Remove the Old Cord
To begin replacing the cord, open the vacuum cleaner casing. Depending on your vacuum model, this might involve unscrewing several screws on the back or bottom of the machine. Once you have access to the cord’s connection point, gently remove the old cord by cutting it near the point where it connects to the machine. Be sure to note how the cord is attached before cutting, as you’ll need to replicate this step with the new cord.
Step 3: Prepare the New Cord
Cut the new replacement cord to the same length as the old one. Use a utility knife or scissors to strip the outer insulation at both ends of the cord. After stripping the insulation, you should be able to see the wires inside. Use wire strippers to remove a small section of the insulation from the individual wires, making sure to leave enough exposed wire for the connection.
Step 4: Attach the New Cord to the Vacuum Cleaner
Now that the new cord is prepared, connect the exposed wires to the appropriate terminals on the vacuum cleaner. Most vacuums will have clear markings on where the live (hot) and neutral wires should be attached. Once connected, use electrical tape to secure the wires in place, making sure there are no exposed wires that could cause a short circuit.
Step 5: Test the Vacuum Cleaner
After replacing the cord, reassemble the vacuum cleaner and plug it back into the wall. Turn the vacuum on and check if it’s working properly. If everything seems fine and the vacuum turns on without any power interruptions, the replacement was successful.
Common Mistakes to Avoid
While replacing a vacuum cleaner cord may seem straightforward, there are several mistakes that DIYers often make. Here are a few things to avoid:
- Using an Incorrect Cord: Ensure you use the correct type and length of cord for your vacuum. An incompatible cord may lead to electrical malfunctions.
- Improperly Connecting Wires: Always check the polarity of the wires and connect them correctly to avoid damage or electrical hazards.
- Not Securing Wires Properly: Failing to properly secure the wires with electrical tape or a wire connector can lead to exposed wiring, creating a safety risk.
How to Maintain Your Vacuum Cleaner Cord
To prolong the life of your vacuum cleaner cord, follow these maintenance tips:
- Proper Storage: Never leave your vacuum’s cord tangled or hanging loosely. Store it neatly to prevent wear and tear.
- Avoid Over-Stretching: Avoid pulling the cord too tightly when in use. Always leave some slack to reduce stress on the cord.
- Regular Inspections: Periodically inspect the cord for fraying, cuts, or damage. If you notice any issues, replace the cord immediately to avoid further damage to the vacuum.
FAQs
Q1: Can I replace the vacuum cleaner cord myself?
Yes, you can replace the cord yourself as long as you have the proper tools and follow safety precautions. It’s a simple DIY repair that most people can manage.
Q2: How much does it cost to replace a vacuum cleaner cord?
Replacement cords are typically affordable, costing anywhere from $10 to $30 depending on the brand and length. Professional repair services may charge more for the labor involved.
Q3: Can I use any cord to replace my vacuum’s power cord?
No, it’s important to use a cord that matches the voltage and amperage specifications of your vacuum. Using an incorrect cord could damage your vacuum or pose a safety risk.
Q4: How often should I replace my vacuum cleaner cord?
It depends on usage, but you should inspect your vacuum’s cord regularly. If you notice any fraying, cuts, or other damage, replace it immediately.
Q5: Can I fix a vacuum cleaner cord without professional help?
Yes, most vacuum cleaner cords can be replaced with basic tools and some patience. However, if you’re unsure or uncomfortable with electrical work, it’s best to seek professional help.
Final Thoughts
Replacing a vacuum cleaner cord is a practical and cost-effective way to extend the life of your vacuum cleaner and ensure it works efficiently. Whether your cord has frayed, become disconnected, or stopped working altogether, you don’t have to spend a fortune on a new vacuum cleaner. By following the steps outlined in this guide, you can replace the cord yourself and restore your vacuum to working condition.
It’s important to remember that safety should always come first. Ensure you’re working with a completely unplugged vacuum and that you use the right tools and materials for the job. Take your time and don’t rush through the process—doing so could lead to mistakes that make the repair more difficult or unsafe.
Regular maintenance of your vacuum cleaner cord can prevent the need for frequent replacements. With proper storage and care, your cord can last for years, keeping your vacuum running smoothly. If you follow the tips in this guide, you’ll be able to replace your vacuum cleaner cord with confidence and get back to cleaning your home in no time.