Carbon monoxide (CO) earns its nickname as the “silent killer” because it’s completely undetectable by human senses—no smell, no color, no taste. Public safety organizations such as the CDC and CPSC consistently warn that carbon monoxide poisoning remains a serious threat in residential buildings, especially in multi-family housing. In apartments, common sources include shared heating systems like central boilers, neighbors’ faulty gas appliances (stoves, water heaters, or dryers), vehicle exhaust from underground parking, and limited ventilation that allows CO to build up silently overnight.
Apartments demand special vigilance. Rental agreements often prohibit permanent modifications, spaces are compact (trapping gases faster), and landlord-provided detectors might be outdated, poorly placed, or simply non-functional. Safety inspections have shown that landlord-installed detectors are not always properly maintained or placed, making personal verification essential for renters. As a renter, you’re often on your own for true protection.
This comprehensive guide dives deep into optimal placement strategies, correct daily usage, and proven maintenance routines to ensure your detectors last their full 7-10 year lifespan, providing reliable alerts when you need them most.
Table of Contents
Why Proper Placement and Maintenance Matter in Apartments
Multi-unit buildings amplify CO risks dramatically. Shared vents, HVAC ducts, and chimneys can funnel exhaust from one unit to another—imagine your neighbor’s gas furnace malfunctioning at 2 AM, pushing lethal levels into your bedroom via interconnected airways. Fire and safety authorities note that shared ventilation systems in multi-unit buildings can significantly increase the risk of carbon monoxide spreading between apartments.
Renter restrictions compound this: no-drill policies mean you can’t mount detectors securely like homeowners, and frequent moves require portable setups. Poor placement leads to delayed detection (missing low-level buildup) or false alarms (annoying everyone and causing “alarm fatigue,” where real threats get ignored).
The payoff of getting it right is huge: Proper placement helps detectors respond to dangerous carbon monoxide levels in time for safe evacuation, reduces unnecessary false alarms, and allows the unit to reach its full 7–10 year lifespan. This means fewer replacements, lower costs, and—most importantly—lives saved.
There are documented cases where properly placed hallway detectors alerted apartment residents to dangerous overnight carbon monoxide buildup, while poorly placed units failed to provide timely warnings.
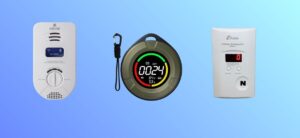
Choosing the Right CO Detector for Apartments
Don’t grab the cheapest option—select based on your apartment’s layout and lifestyle. Top recommendation: Battery-powered with sealed, non-replaceable batteries lasting 10 years. Brands like Kidde or First Alert offer affordable sealed-battery options designed for long-term use. No chirping batteries to swap mid-lease, and they’re fully portable for move-outs. Plug-in with battery backup works if you have outlets near ideal spots—great for studios, as they auto-recharge.
Steer clear of hardwired models unless your lease allows electrician work; they’re a hassle to remove and often violate rental terms.
Must-have features unpacked:
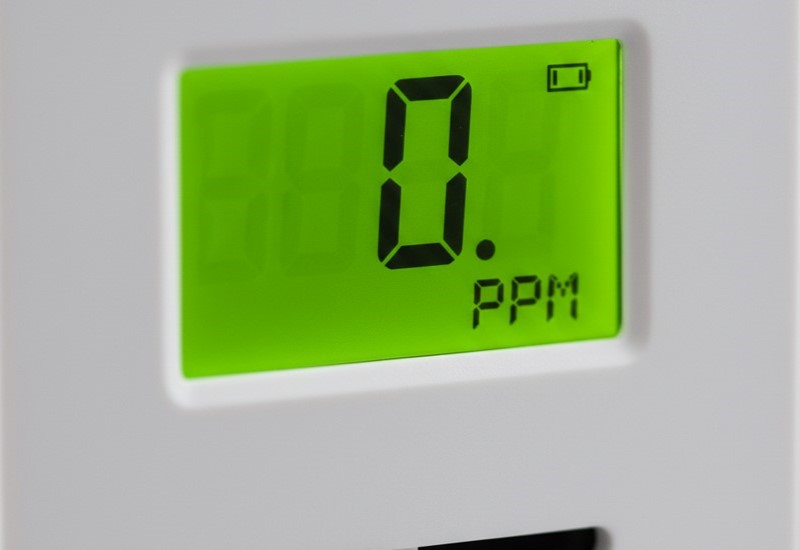
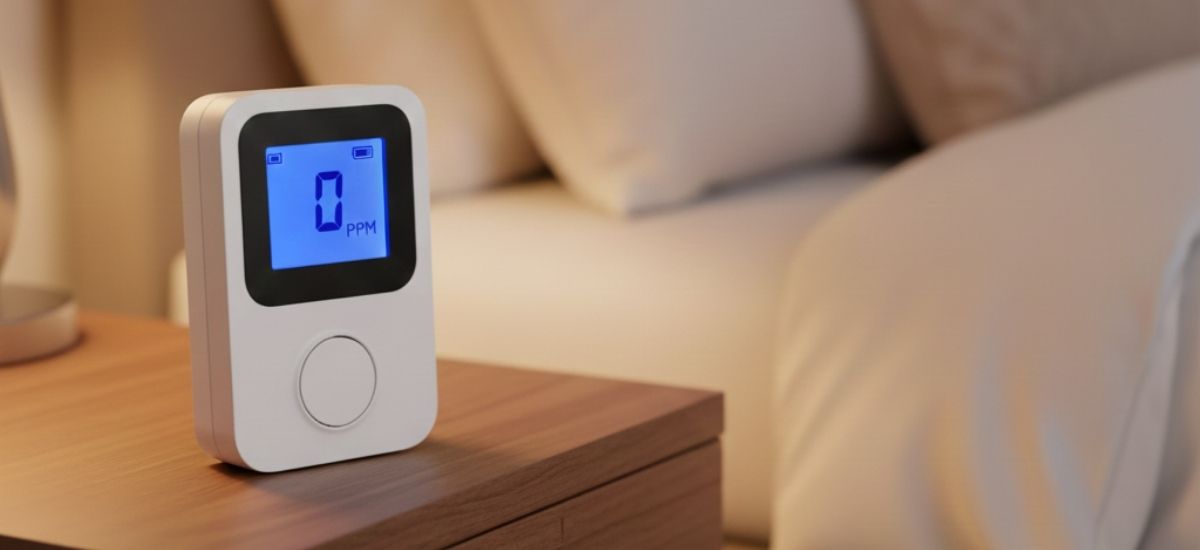
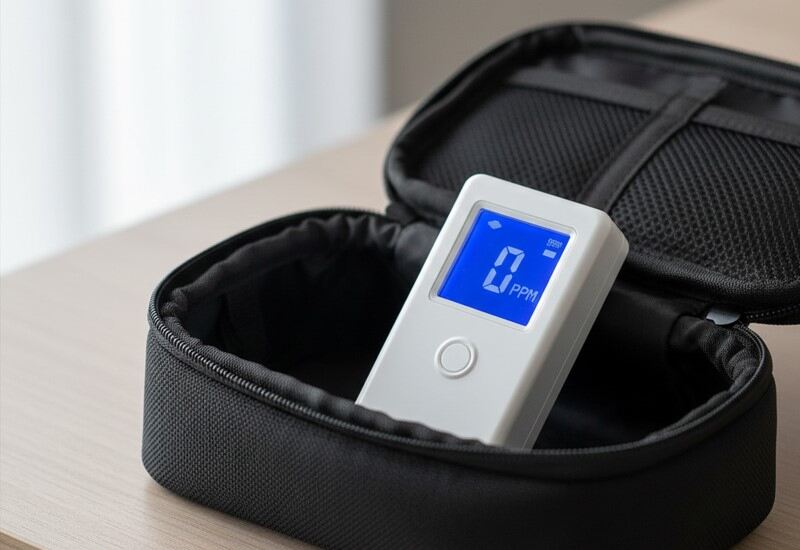
- Digital display: Shows real-time CO ppm levels (e.g., 0-999)—vital for distinguishing 30 ppm (normal) from 100+ (danger).
- Electrochemical sensor: Most accurate, detects low levels fast (vs. cheaper metal-oxide types that false-alarm on humidity).
- Loud alarm: 85+ dB with voice alerts (“Warning: Evacuate!”)—pierces walls in noisy buildings.
- UL 2034 certification: Ensures it meets safety standards; check the label.
- Bonus: Smart models like Nest Protect offer app-based alerts and remote monitoring, which can be helpful if you’re often away from home.
Buy two for 1-2 bedroom units. Test in-store if possible—press the button for instant feedback.
How to Place a Carbon Monoxide Detector in an Apartment
Placement isn’t guesswork—it’s science. Carbon monoxide mixes evenly with indoor air, so detectors work best when placed at breathing height and in areas with normal airflow, following manufacturer guidelines.
Universal rules: Install one per level (including basements if accessible), within 15 feet of sleeping areas but outside bedrooms to avoid dead-air zones.
Apartment-tailored strategies:
- Tiny studio (under 500 sq ft): One central unit on the main wall, equidistant from bed/kitchen. Example: 4ft from sofa-bed, 6ft from stove—covers the whole space efficiently.
- 1-bedroom (500-800 sq ft): Primary in hallway outside bedroom door; secondary near living room if kitchen-adjacent.
- 2-bedroom (800+ sq ft): One hallway (serving both bedrooms), one near kitchen/living divide (15ft min from stove). Add a third if you have a garage spot.
Installation hacks for renters:
- Adhesive mounts: 3M Command strips hold 5lbs—peel off residue-free.
- Tabletop stands: $5 add-ons for shelves; stable and movable.
- Height: 3–6 feet off the floor (eye level is ideal for reading the display, and carbon monoxide mixes evenly with indoor air).
Dead zones to avoid (and why):
- Kitchens: Cooking fumes and temporary combustion gases can frequently trigger false alarms.
- Bathrooms: Steam/humidity skews sensors.
- Windows/vents/fans: Dilutes CO, delaying alerts by hours.
Aim for 15ft radius coverage per unit. After installation, make sure the detector is unobstructed and that the alarm can be heard clearly from sleeping areas.
How to Use a Carbon Monoxide Detector Correctly
Master the signals to avoid panic or complacency: a steady green power light indicates normal operation, a single chirp every 30-60 seconds signals low battery (ignoring it worsens the problem), and a 4-5 rapid beeps with red flash and voice alert (“Evacuate! CO detected!”) means immediate danger.
The monthly test routine takes just 2 minutes: press and hold the test button for 5-10 seconds, listen for the full 85dB siren plus voice alert, verify the display resets to 0 ppm, and note the date in your phone calendar to stay consistent.
Follow this alarm protocol for life-saving action: immediately move everyone outside to fresh air using the safest exit route (feel doors for heat first), call local emergency services from outside reporting “carbon monoxide alarm at [your address],” and don’t re-enter until professionals clear the building. In apartments, bang on neighbors’ doors or use the building intercom since CO travels fast through shared vents, and renters should set up a group chat for building-wide coordination during shared alarms. For false alarms, ventilate thoroughly, then reset after a 15-minute cooldown.
How to Maintain a Carbon Monoxide Detector for Long Life
Neglect can halve your detector’s lifespan, but following these steps ensures it lasts the full 10 years.
Monthly testing is essential: unplug the unit if applicable, press the test button and expect a full 30-second alarm cycle with voice alerts, then confirm it silences properly and log the date in your phone notes.
Every 6 months, spend just 5 minutes on cleaning: power off the device, use a vacuum crevice tool with low suction to remove dust from vents and grills, wipe the exterior with a dry microfiber cloth (never use liquids), and avoid compressed air which pushes debris deeper inside.
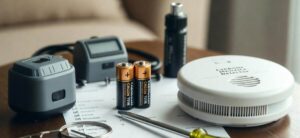
Battery mastery prevents failures: a single chirp means replace immediately with alkaline batteries only, while sealed 10-year models self-monitor until their end-of-life beep. Set a consistent annual reminder (like daylight savings) to check or swap batteries if needed.
Full replacement is non-negotiable as sensors naturally degrade—check the manufacture date on the back label and recycle the old unit at stores like Home Depot when it hits 7-10 years, since new units cost far less than a CO emergency. For renters, photo log maintenance using apps like Google Keep with timestamps to prove compliance to landlords and protect your security deposit.
Common Mistakes in Apartments and How to Avoid Them
Many apartment residents unknowingly make critical mistakes with carbon monoxide (CO) detectors that reduce their effectiveness. One of the most common problems is incorrect placement, such as installing detectors too close to stoves, ovens, or bathrooms—often less than 15 feet away. This can trigger frequent false alarms, which may eventually be ignored. To avoid this, always follow the 15-foot placement rule from fuel-burning appliances and use a phone measuring or laser app for accurate positioning.
Another serious oversight is relying only on landlord-provided CO detectors. Some apartment-installed units may be outdated, poorly maintained, or no longer functional. These detectors should always be tested on move-in day. If any unit fails or seems unreliable, installing a personal CO detector provides an extra layer of safety and peace of mind.
Blocking CO detectors with furniture, curtains, wall art, or decorative shelves is another common mistake. Obstructed airflow can reduce sensor accuracy and muffle the 85 dB alarm. Keeping at least 12 inches of clear space around all sides of the detector helps ensure proper detection and audible alerts.
Renters also frequently forget to take their CO detectors when moving or continue using units that have passed their lifespan. This creates a false sense of security in a new apartment. A simple solution is to pack the detector in an “essentials box” and inspect or replace it on Day 1 of every new lease.
Additional issues include storing detectors in closets, purchasing expired units without checking the manufacturing date, or silencing low-battery or sensor warnings without fixing the root cause. These mistakes can delay critical alerts at the moment they are needed most, putting household safety at risk.
Final Advice
Recap: Nail placement (hallway heroes, 15ft rules), master usage (test monthly, evacuate fast), and maintain religiously (clean, log, replace timely)—this combo delivers maximum safety, slashes false alarms, and ensures 10-year reliability.
Don’t wait—test your detector right now (button press takes 10 seconds) and audit your setup today. As a renter in a shared building, this simple investment buys priceless peace of mind, letting you sleep soundly knowing invisible threats are covered.
FAQs
Where should I place a carbon monoxide detector in an apartment?
Place one on every level, outside sleeping areas (hallway, 15ft from bedrooms). Studio: Central wall between bed+kitchen (6ft from stove). Avoid: kitchens, bathrooms, vents/windows. Height: 4ft (eye level). Use adhesive mounts.
How many carbon monoxide detectors do I need in my apartment?
Studio: 1 central unit. 1BR: 1-2 (hallway + living). 2BR: 2 (hallway + living/kitchen divide). Rule: 1 per level + 15ft radius per sleeping area.
How long do carbon monoxide detectors last and when should I replace them?
7-10 years from manufacture date (check back label). Replace entire unit at end-of-life chirp, regardless of batteries. Sensors degrade over time.
How do I test if my carbon monoxide detector is working?
Monthly: Press test button for 5 seconds. Expect: 85dB alarm + voice alert + display reset. No sound = dead unit, replace immediately.
What should I do if my carbon monoxide detector alarm goes off?
IMMEDIATELY: Evacuate (feel doors for heat), call 911 from outside, ventilate building, alert neighbors/landlord. DO NOT re-enter until fire dept clears.

Welcome to Homenias, I’m Jaman M, and I’m here to help you discover the best home products. With years of experience, they offer genuine reviews and helpful guides. Their mission is to make your choices easier. It’s organizing your space or finding creative solutions. Explore how the right products can enhance your everyday life. Don’t miss out on finding the best home products to raise your living experience.