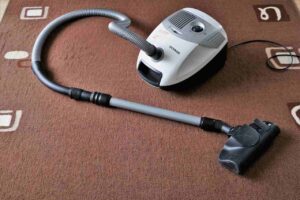
Vacuum cleaners are a must-have in every home. They keep floors clean and the air dust-free. This makes housework easier and improves indoor air quality. But like any other appliance, they wear down over time — especially the hose.
The hose is a key part that handles air and debris flow. When it gets damaged, your vacuum may lose suction, making it less effective at cleaning. The good news? Fixing a vacuum cleaner hose is simple, cost-effective, and something you can do at home.
In this step-by-step guide, you’ll learn how to repair vacuum cleaner hose without needing professional help. We’ll walk you through identifying the problem, choosing the right tools, and applying safe and easy repair techniques. With just a little effort, your vacuum can work like new again, saving you money and extending its life.
Table of Contents
What is a vacuum Cleaner hose & Why It Is Important?
A vacuum cleaner hose is a flexible tube that connects the vacuum body to its attachments, allowing dirt, dust, and debris to be sucked into the vacuum.
Why Important –
It is important because it carries the suction power from the vacuum to the spot you’re cleaning. Without the hose, the vacuum can’t pull in dust, dirt, or debris.
Common Vacuum Cleaner Hose Issues

Before you start any repair, you need to figure out what’s wrong with the hose. Most problems fall into three main categories: cracks, splits, or blockages. You must address different solutions for the diverse set of issues that affect your vacuum hose.
Cracks and Splits
The hose displays cracks and splits, which are among the most common vacuum-related issues. Regular wear and tear, as well as accidental bends or pinching at specific points, might cause hose damage. Broken areas in your vacuum hose reduce suction ability through the escape of air. Hose inspection is necessary if you detect any loss of suction power because your vacuum likely needs maintenance.
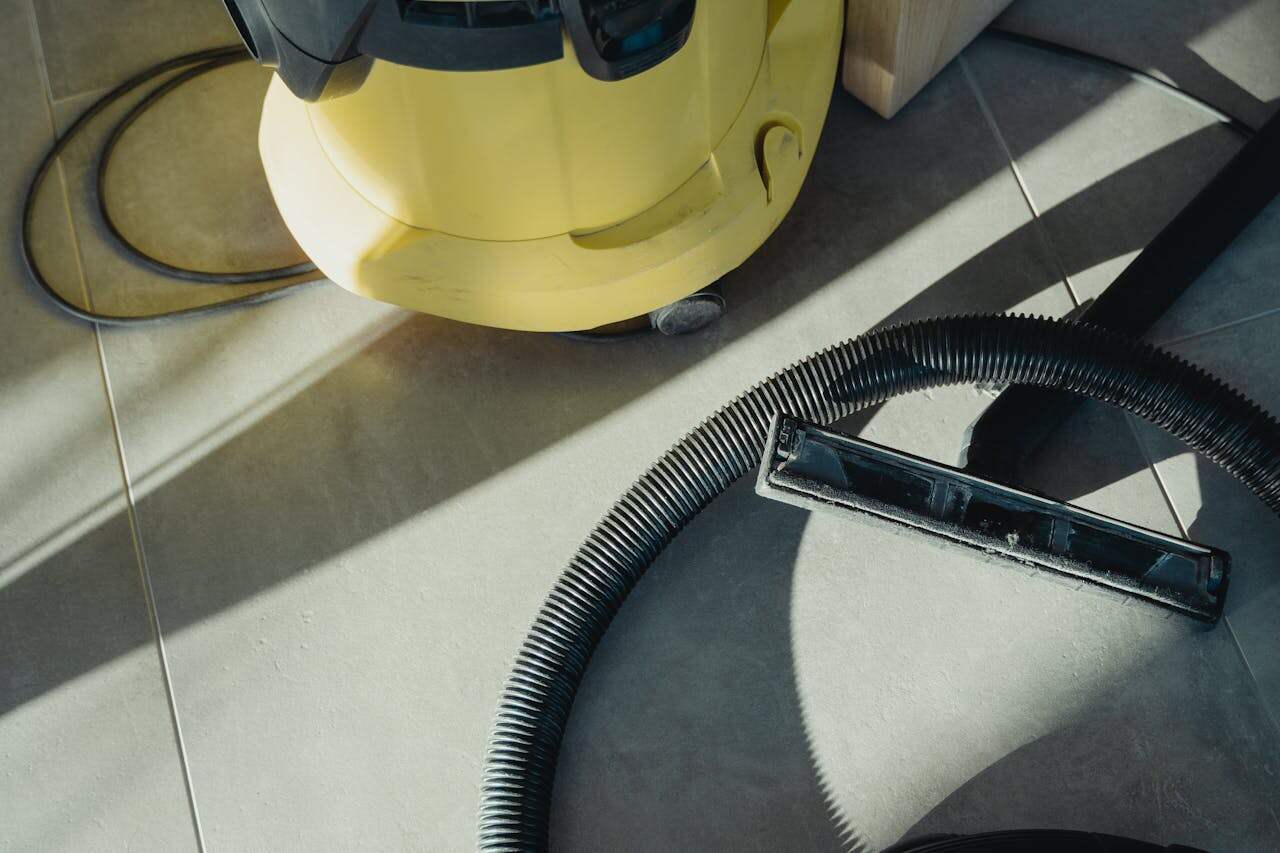
Blockages and Clogs
The hose often encounters blockages or clogs as a common operational problem. The vacuum hose becomes obstructed by small foreign materials, which include dust particles together with hair strands, and tiny objects. Your vacuum loses its suction power because of blockages which interrupts effective cleaning operations. Clearing debris out of the hose represents an easy solution to resolve blockages.
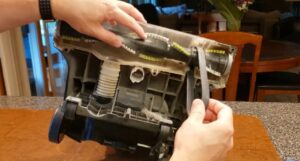
How to Repair a Cracked or Split Vacuum Cleaner Hose
Damaged hose repair methods exist to handle small fractures or splits because most types of damage can receive appropriate technical(solution) repair using proper tools. This piece investigates two popular methods to fix a hose, including the use of tape to seal small hole areas and the replacement of severely broken sections.
Using Tape to Seal Small Cracks
You can repair hose damage with duct tape or vacuum hose repair tape. This method works well for minor cracks in the hosepipe. It can restore suction for a short time or even longer. The result depends on how big the defect is.
Step-by-step procedure:
- Clean the damaged area: You should clean the surrounding area from the crack before applying tape and allow it to dry completely. A damp cloth should be used to clean the surface, which should then dry completely.
- Apply the tape: Cut the duct tape or vacuum hose repair tape to reach the size needed for covering the damaged section. Apply the tape to tightly encircle the hose with complete coverage of the cracked section.
- Test the hose: Although the tape is properly attached, check that suction returns after you start the vacuum cleaner. If the vacuum suction remains weak, to avoid this problem, recheck the tape sealing around the hose crack to determine its proper placement.
Replacing a Severely Damaged Hose Section
You must replace the damaged hose section whenever the opening in the tube exceeds what tape can cover. Addressing a broken vacuum hose by replacement takes time, yet produces full suction recovery in the vacuum system.
Step-by-step procedure:
- Locate the damaged area: Visual inspection should be conducted to locate the wound or breakage in the hose. Measure its length afterward. Take measurements of the damaged region length.
- Cut out the damaged section: When cutting the damaged section of hose, use either a utility knife or scissors. It is important to avoid cutting a large portion of the hose because doing so can lead to difficulties when operating the vacuum.
- Join the two hose sections: A hose connector or flexible rubber sleeve should be used for joining the usable parts of the sections. Then secure the connection point with duct tape to stop air leaks. Protect your duct tape connection from air leaks by applying it securely across the connection points.
- Test the vacuum: To verify proper operation and maintenance of the repair, you should test the vacuum cleaner after joining the hose.
How to Fix Blockages and Clogs in a Vacuum Hose
Clogs, along with blockages, normally require less effort to address than cracks or splits. To fix suction loss in your vacuum cleaner, first check for blockages using these recommended steps.
Using a Flexible Rod or Brush
A long, thin brush or flexible rod should help you break apart pipe blockages when you place it inside the hose. Such tools enable delicate force to push away clogging material through your hose while keeping it from getting damaged.
Step-by-step procedure:
- Remove the hose: After disconnecting the hose from the vacuum device, position it on a smooth, flat surface.
- Insert the rod or brush: After opening the hose, properly and firmly attach the rod or brush to the vacuum device.
- Shake the hose: After clearing the obstruction, you should shake the hose to eliminate loose debris from the pipeline.
- Test the vacuum: Resetting the hose attachment to the vacuum should improve suction after cleaning it with the pipe cleaner brush.
Clearing Clogs with Water or Compressed Air
Stubborn blockages can be removed with water or compressed air. Warm water helps loosen dirt inside the hose. Compressed air can also clear away stuck debris. Both methods are safe and effective for cleaning a clogged hose.
Step-by-step procedure:
- Rinse the hose: Direct the hose under a warm water stream while letting it drain to remove trapped materials. The hose should receive thorough cleaning at both its beginning and ending sections.
- Use compressed air: Compressed air should be used to clear debris that remains in the hose after initial cleaning. To remove the obstruction, you need to direct the nozzle toward the hose while removing it with caution.
- Dry the hose: Empty all water from the hose, then wait for it to completely dry before putting it back to your vacuum.
Tools Needed for Vacuum Cleaner Hose Repair
Repairing a vacuum cleaner hose demands basic skills, but employing proper tools will enhance both effectiveness and efficiency of the repair job. The basic tools listed below will help repair a vacuum cleaner hose with damaged components.
Basic Tools
- Utility Knife or Scissors: This tool serves for cutting the hose at any required time.
- Duct Tape or Repair Tape: This substance applies effectively to fix small cracks alongside splits.
- Flexible Rod or Brush: For clearing blockages and clogs in the hose.
Specialized Tools
- Hose Connector: This hose coupling enables you to link two different hose segments when parts reach the point of infrequent repair.
- Compressed Air Can: The operator needs this tool because it helps remove obstructive matter in the hose.
Safety Precautions While Repairing a Vacuum Hose
Safety should be the main concern during your vacuum cleaner hose repair process. Before starting your vacuum hose repair work, you should follow these safety guidelines:
- Turn off the vacuum: A repair must begin after you switch off and unplug the vacuum.
- Wear gloves: Wear gloves for hand protection because they shield you from sharp instruments, including scissors and utility knives during the process.
- Avoid using excessive force: It is crucial to avoid pushing the clearing tool with force since it may damage the hose.
How to Maintain Your Vacuum Cleaner Hose
You need to maintain the repaired vacuum cleaner hose to avoid additional damage from occurring. Suitable practices for cleaning and storage methods together enable your hose to survive much longer.
Regular Cleaning and Maintenance
Regular cleaning of the hose requires removal procedures for the inside accumulated dirt, dust, along debris. Clear blocked areas in the hose using a flexible rod or brush, followed by warm water flushing to clean it periodically.
Storing the Hose Properly
When storing the hose, it should not be bent through sharp angles to avoid future damage. The storage position should avoid creating kinks and hose pressure since these factors produce future damage.
FAQ
Can I use duct tape to repair a vacuum cleaner hose?
Small vacuum cleaner hose cracks as well as holes can be temporarily sealed using duct tape as an effective repair until permanent solutions become available. You should opt for hose replacement whenever the damage exceeds minor levels.
How do I know if my vacuum hose is clogged?
When your vacuum produces strange sounds and loses its suction power, you need to check for blockages in the hose, as this indicates potential blockages. The vacuum hose requires inspection to check for apparent debris while a flexible stick should be used to remove blockages if necessary.
What causes vacuum hoses to break?
The continued operation and abrupt bends or strikes to vacuum hoses cause these elements to break. The longevity of hoses depends on their usage pattern, as they show signs of wear out and cracking and develop holes whenever the vacuum encounters rough surfaces.
Can I fix a large hole in my vacuum hose?
It becomes necessary to replace the damaged area when holes exceed the capabilities of tape for sealing purposes.
Is it worth repairing a vacuum cleaner hose or should I just replace it?
The cost-effectiveness of repairing vacuum hoses becomes clear for small types of damage such as cracks and clogs. By using duct tape along with replacing a short length of the hose you can improve the vacuum’s function and increase its usability. Your best course of action to address severe hose damage from large tears or outdated equipment design is to replace the whole hose altogether. Replacing your vacuum cleaner as a whole becomes a smarter decision as your observation reveals multiple worn-out components, since ongoing part fixings become too expensive or time-consuming.
Final Thoughts
The process of repairing vacuum cleaner hoses becomes achievable for most homeowners who implement proper procedures together with appropriate tools. A vacuum hose stands essential in vacuum operation because it sustains suction force and promotes machine effectiveness. The ability to correctly fix your vacuum hose through proper repair methods will save you time and eliminate expense as well as reduce your frustration.
The initial step consists of identifying which form of problem affects your vacuum—a crack, split, or blockage. Minor vacuum hose cracks can be easily fixed with duct tape, but serious damage often requires the replacement of a hose section together with specialized hose connectors. Clearing clogs in vacuum hoses appears more feasible either by employing flexible tools or brush tools or by flushing with water.
Using appropriate tools, including utility knives, hose connectors and compressed air, offers you easier maintenance that produces lasting hose repairs. Any repair work demands attention to security standards. Safety requires both disconnecting the vacuum cord and acting carefully while dealing with sharp tools.
Repairing vacuum cleaner hoses proves cost-effective but performing regular maintenance allows your hose and vacuum cleaner to reach extended life spans. The performance of your vacuum system remains efficient when you conduct preventative maintenance, which includes emptying blockages, maintaining proper hose storing and ensuring it stays free from bends and kinks and routinely cleaning the tube. By devoting your time to vacuum hose care you will obtain better machine performance while postponing new hose purchases for coming years.
Yet you should know that hose lifetime extension through repairs works in some cases yet others require brand new replacement. The combination of age with severe wear on your vacuum cleaner hose should push you toward complete replacement since regular fixes fail to bring effective results. Most vacuum model replacement hoses are available on the market and their installation process remains simple thus bringing your vacuum cleaner back to optimal performance.
Acquiring the ability to fix vacuum cleaner hoses proves to be a necessary expertise. The information from this guide provides both novice home maintenance enthusiasts and experienced vacuum cleaner fixers with the skills needed to maintain efficient performance in their appliances.

Welcome to Homenias, I’m Jaman M, and I’m here to help you discover the best home products. With years of experience, they offer genuine reviews and helpful guides. Their mission is to make your choices easier. It’s organizing your space or finding creative solutions. Explore how the right products can enhance your everyday life. Don’t miss out on finding the best home products to raise your living experience.